Step-by-Step Guide to Bee Removal
Step-by-Step Guide to Bee Removal
Honey bees are vital pollinators, supporting plant reproduction and food production across the Southeast. However, when a honey bee hive forms in or near your home, it can pose safety risks. Professional honey bee removal ensures safe, humane relocation while protecting your property. This guide explains the process, helping you make informed decisions for safe bee removal. For expert help, contact Southeast Bee Removal today.
Why Is Honey Bee Removal Important?
Honey bees contribute to 80% of global crop pollination, but hives in residential areas can endanger families and structures. Unlike wasps or bumblebees, honey bees build large hives with honeycomb, requiring specialized bee hive removal techniques. Humane removal preserves these pollinators while addressing safety concerns, especially in urban areas like Atlanta.

How to Safely Remove Honey Bees? (Step-by-Step Guide)
Follow these 10 steps for effective and humane bee removal. While professionals are recommended, understanding the process empowers you to act responsibly.
Step 1: Identify the Bee Species
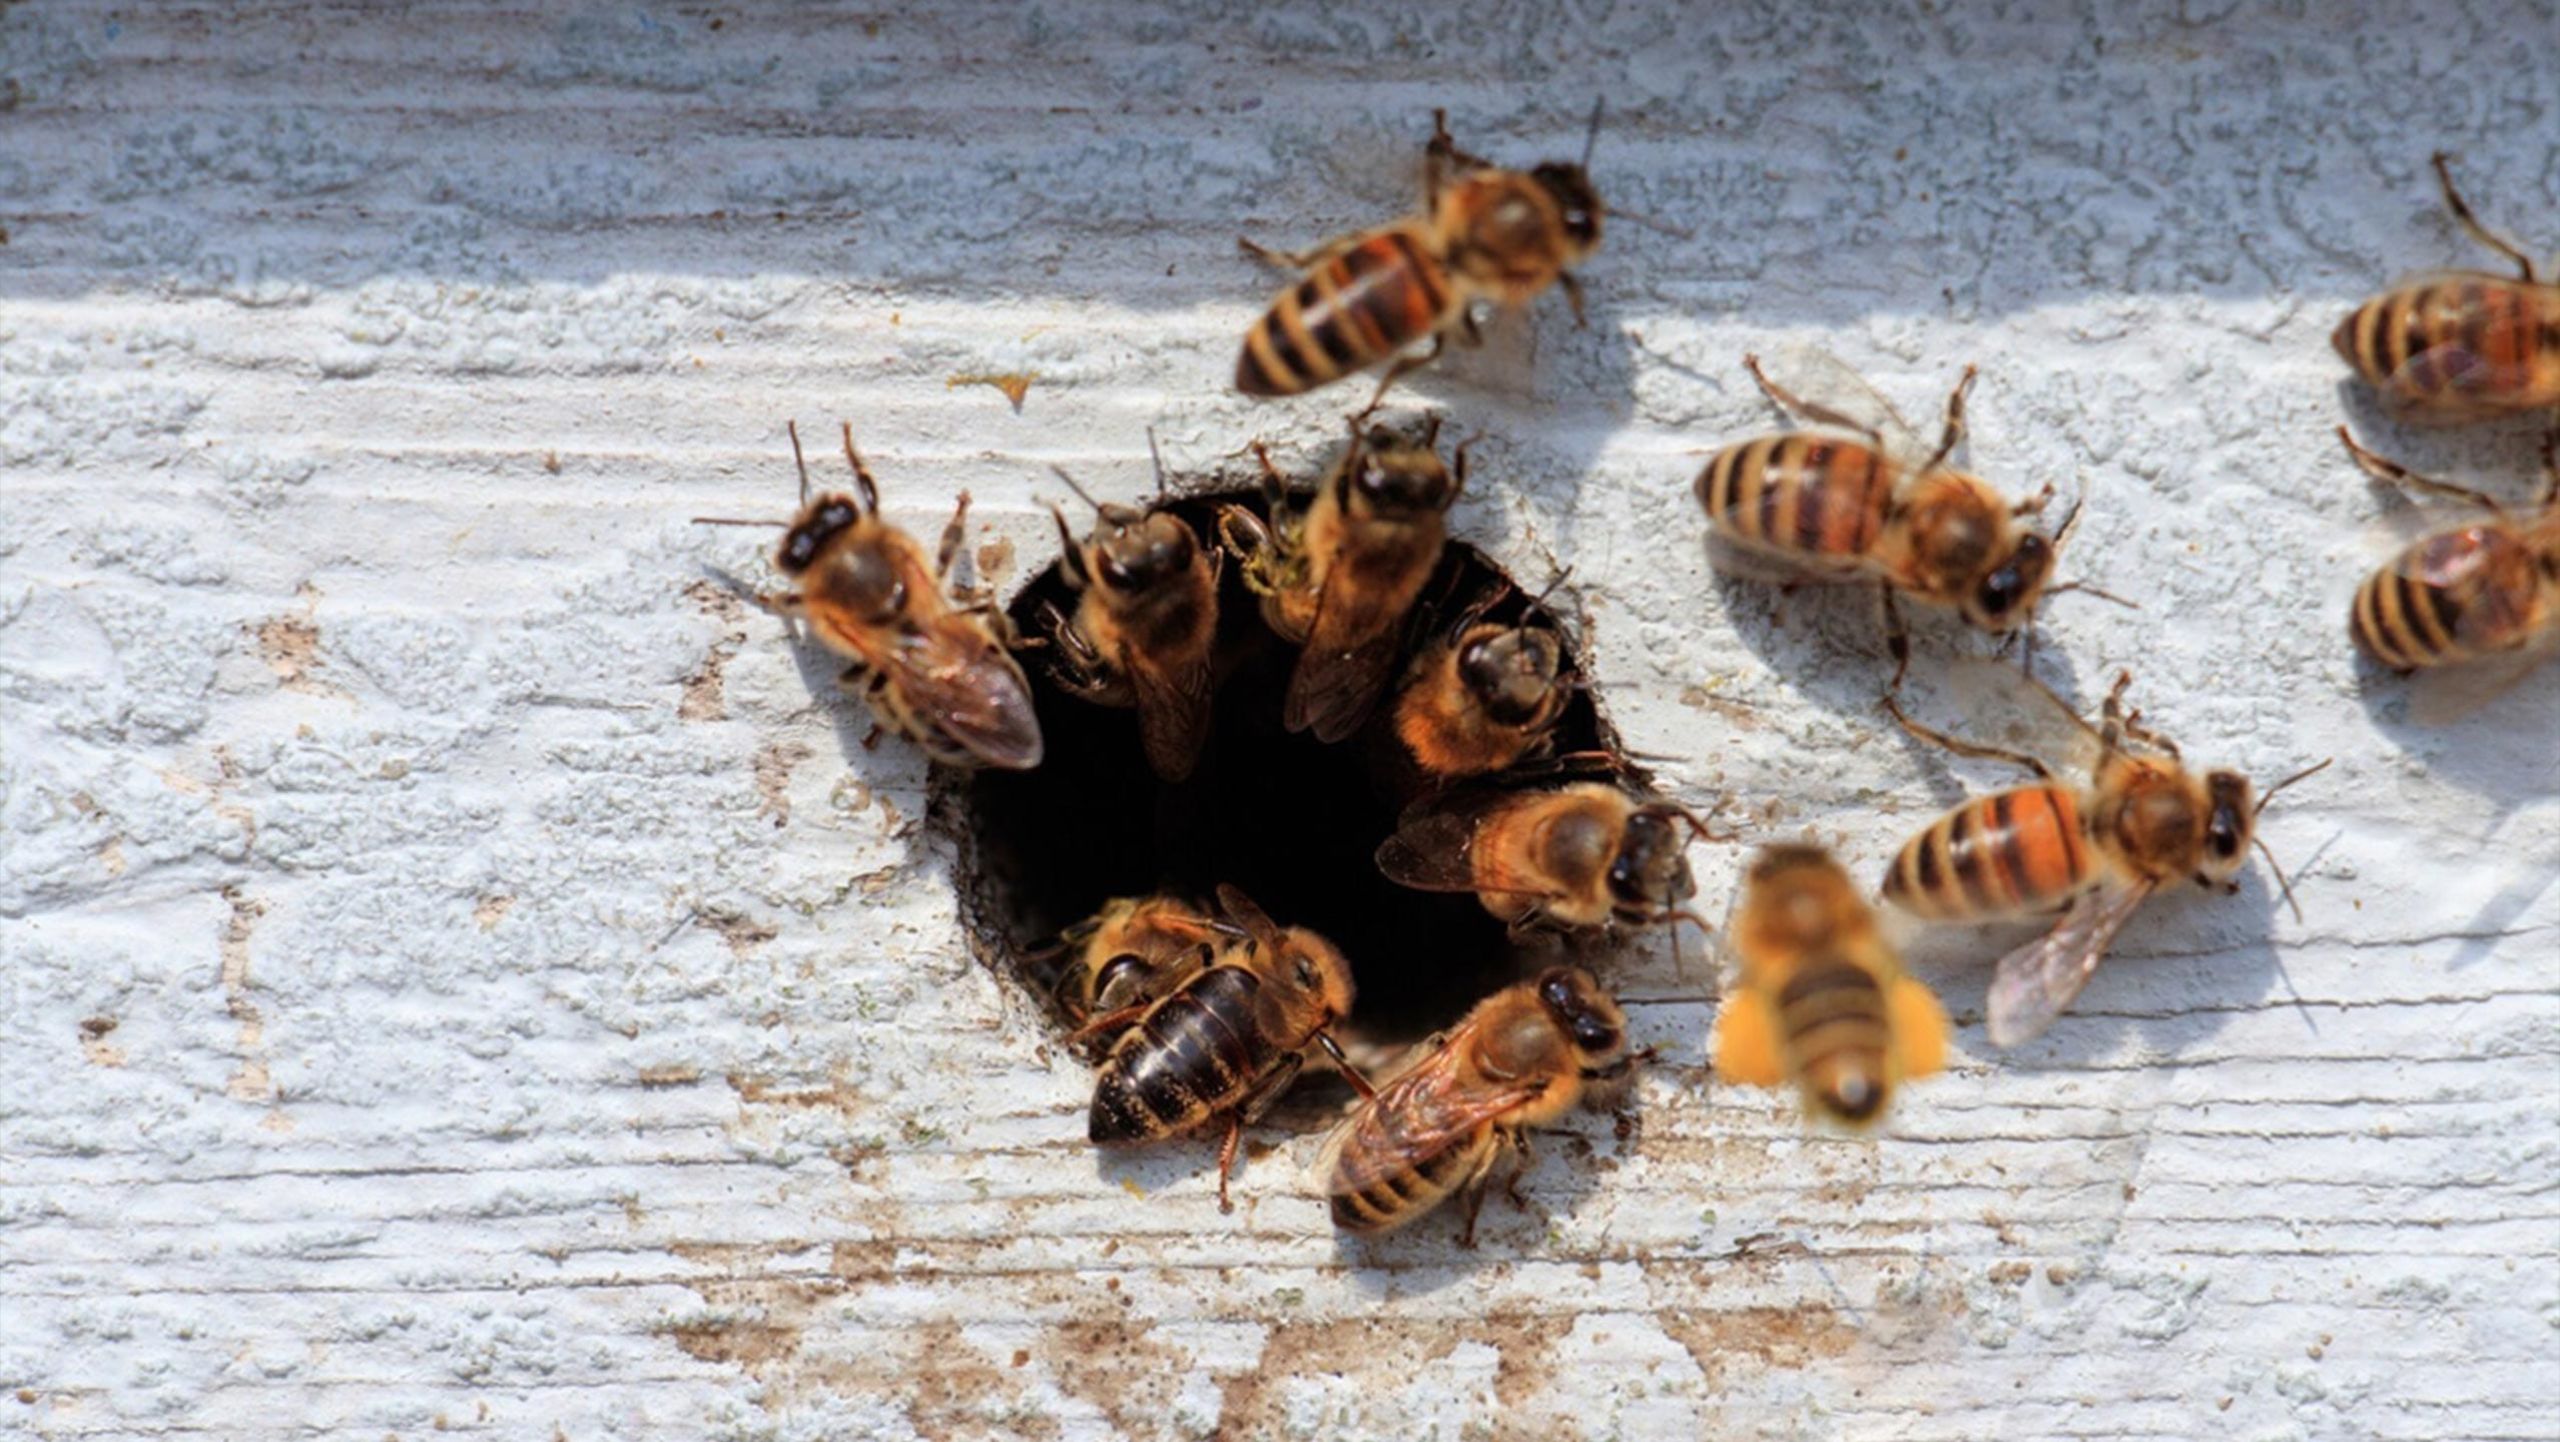
Confirm you’re dealing with honey bees, not bumble bees or wasps. Honey bees are slender, form large hives, and are gentler than other stinging insects. Misidentification can harm bees or lead to ineffective removal.
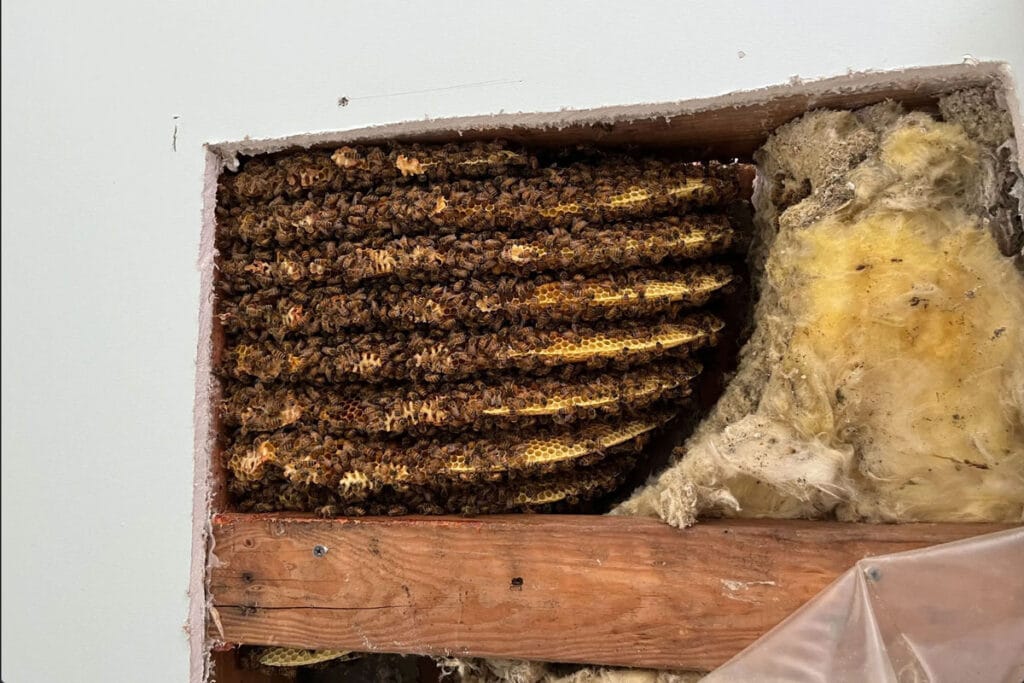
Tip: Look for honeycomb structures, common in honey bee hives.
Step 2: Assess the Hive Location
Locate the hive to plan honey bee removal. Common spots include:
- Wall cracks or attics
- Roof edges or chimneys
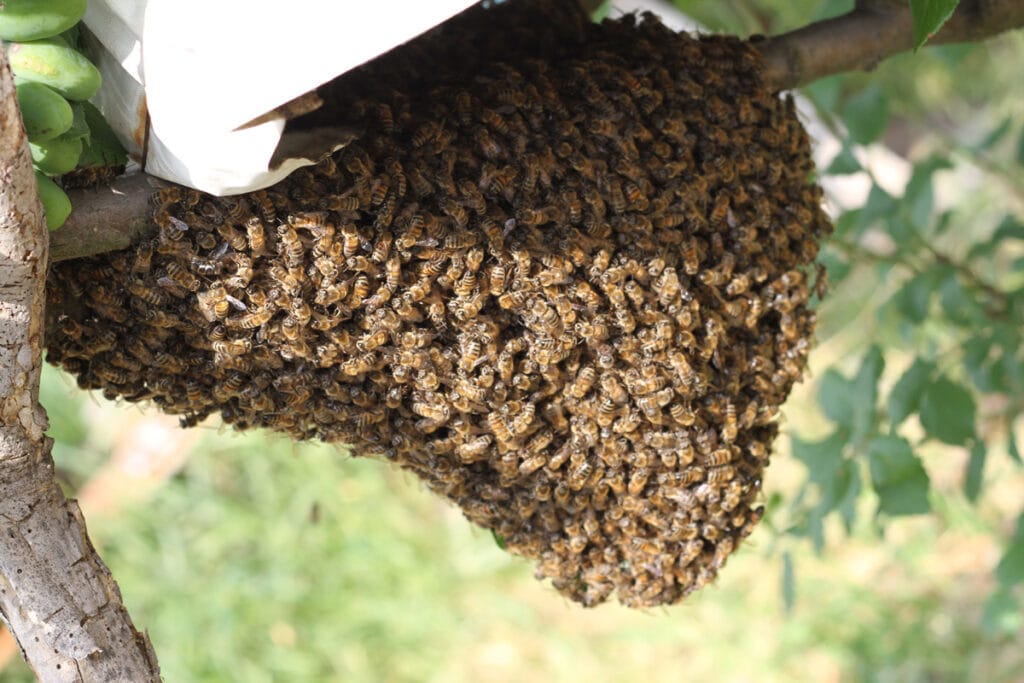
- Trees, shrubs, or underground cavities (common in Birmingham)
Accurate assessment ensures a strategic approach, minimizing property damage.
Step 3: Prioritize Safety
Safety is critical during bee hive removal. Honey bees may defend their hive if disturbed. Wear:
- A bee suit or thick long sleeves
- Gloves and a beekeeping veil
- Closed-toe shoes
Alert neighbors or family to avoid the area, especially during peak bee season (April-June in Georgia).
Step 4: Choose the Right Time
Timing matters for safe bee removal. Relocate bees:
- Early morning
- Late evening
During these times, most bees are inside the hive, reducing aggression and escaping. Avoid midday when bees are foraging.
Step 5: Use a Bee Smoker
A bee smoker calms honey bees by masking alarm pheromones. Gently puff smoke near the hive entrance to encourage bees to consume honey, making them less defensive. This is a standard tool for humane bee removal in cities.
Step 6: Seal Entry and Exit Points
Once bees are calm, seal surrounding entry points with tape, caulk, or mesh. This controls the honey bee removal process and prevents stray bees from returning. Ensure one main entrance remains for hive extraction.
Step 7: Extract the Hive
Removing a honey bee hive requires precision to avoid harming bees or property. Professionals may:
- Cut into walls or ceilings (e.g., for attic hives)
- Use bee vacuums to collect bees safely
- Dislodge honeycomb sections carefully
Specialized equipment ensures minimal disruption.

Step 8: Relocate the Bees
Relocation is key to humane bee removal. Partner with a local beekeeper or apiary to move the hive to a safe environment, supporting pollinator conservation.
Step 9: Clean and Sanitize the Area
After honey bee removal, clean the site to prevent re-infestations. Remove:
- Residual honey or wax
- Scents attracting new swarms
- Structural debris
Sanitization is crucial in humid climates to avoid pest issues.
Step 10: Prevent Future Infestations
Keep bees away with these tips:
- Seal wall voids and cracks
- Repair siding or roofing
- Remove standing water and sweet food sources
- Install mesh screens over vents
Regular maintenance protects your home in Atlanta, Birmingham, or beyond.
Honey bee removal requires care to protect both bees and your home. By following these steps and partnering with experts, you ensure a safe, eco-friendly solution. Serving Atlanta, Birmingham, and beyond, Southeast Bee Removal offers 24/7 humane bee removal services.
Ready to remove a hive? Contact us today for a free quote and keep your property bee-free! 🐝